


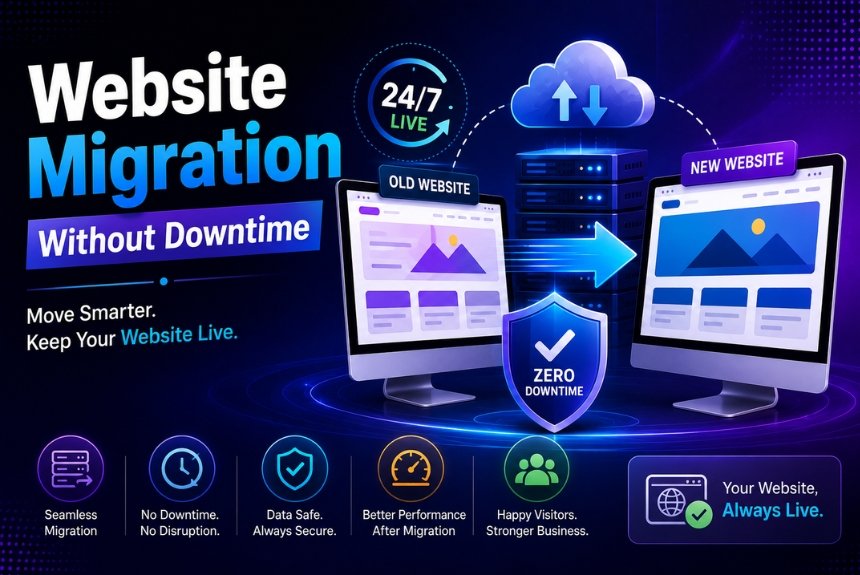
How to Migrate Your Website Without Downtime
Introduction
Website migration is the process of moving a website from one hosting provider, server, domain, CMS, or platform to another. While migration can improve website performance, security, and scalability, it also comes with risks if not handled correctly. One of the biggest concerns for businesses and website owners is downtime.
Downtime refers to the period when a website becomes inaccessible to visitors. Even a few minutes of downtime can result in lost sales, reduced customer trust, lower search engine rankings, and poor user experience. For eCommerce websites, business websites, and blogs with regular traffic, avoiding downtime is essential.
A well-planned migration ensures that visitors continue accessing the website while the transition takes place behind the scenes. This process is known as Website Migration Without Downtime. It involves careful preparation, data backup, testing, DNS planning, and monitoring before switching users to the new server.
Whether you’re moving to a faster hosting provider, upgrading your infrastructure, changing domains, or migrating to WordPress, following the right migration strategy can make the transition smooth and virtually invisible to your users.
Core Concepts of Website Migration Without Downtime
Before starting the migration process, it is important to understand the key concepts involved.
1. Website Migration
Website migration refers to transferring all website components—including files, databases, images, emails, applications, and configurations—from one environment to another.
Common migration types include:
- Hosting migration
- Domain migration
- Server migration
- CMS migration
- Website redesign migration
- HTTP to HTTPS migration
- Cloud migration
Each migration type requires different planning, but the objective remains the same: preserve website functionality while improving infrastructure.
2. Downtime
Downtime occurs when visitors cannot access your website because the server is unavailable or the migration is incomplete.
Downtime may happen because of:
- DNS propagation delays
- Missing website files
- Database connection errors
- Incorrect server configuration
- SSL certificate issues
- Broken redirects
The goal of zero-downtime migration is to eliminate or minimize these interruptions.
3. DNS (Domain Name System)
DNS connects your domain name with your hosting server.
During migration:
- Old DNS points visitors to the old server.
- New DNS points visitors to the new server.
Changing DNS records carefully is one of the most important parts of a zero-downtime migration.
4. TTL (Time To Live)
TTL determines how long DNS information is cached by internet service providers.
Reducing TTL before migration allows DNS updates to spread more quickly, minimizing delays.
5. Staging Environment
A staging environment is a copy of your website used for testing before making changes live.
It allows developers to:
- Test design
- Check plugins
- Verify database connections
- Detect errors
- Test functionality
without affecting the live website.
6. Backup
Always create a complete backup before migration.
A full backup includes:
- Website files
- Database
- Emails
- SSL certificates
- Configuration files
If anything goes wrong, the backup allows immediate restoration.
Step-by-Step Guide to Migrate Your Website Without Downtime
Step 1: Plan the Migration
Proper planning reduces unexpected issues.
Prepare:
- Migration timeline
- Website inventory
- Current hosting information
- DNS settings
- SSL certificates
- Database credentials
- Email configuration
Identify peak traffic hours and schedule migration during low-traffic periods.
Step 2: Take a Complete Backup
Before making any changes:
- Backup website files
- Export databases
- Save email accounts
- Download configuration files
- Store backups securely
Never skip this step.
Step 3: Set Up the New Hosting Server
Configure the new hosting environment before moving files.
Install:
- PHP
- MySQL
- Web server (Apache/Nginx)
- SSL certificate
- Required software
- Security settings
Ensure software versions match the old server.
Step 4: Copy Website Files
Transfer website files using:
- FTP
- SFTP
- SSH
- Hosting migration tools
Verify that:
- Images load correctly
- CSS files work
- JavaScript functions properly
- Plugins are installed
- Themes remain unchanged
Step 5: Import the Database
Move the database carefully.
Update:
- Database name
- Username
- Password
- Configuration files
Test database connectivity before proceeding.
Step 6: Test the Website on the New Server
Before changing DNS:
Check:
- Homepage
- Internal pages
- Contact forms
- Login system
- Shopping cart
- Payment gateway
- Images
- Videos
- Menus
- Search functionality
- Mobile responsiveness
Fix all issues before going live.
Step 7: Reduce DNS TTL
Lower the TTL value (for example, from 24 hours to 5–10 minutes) at least a day before migration. This helps DNS changes propagate faster when you switch servers.
Step 8: Update DNS Records
Once testing is complete:
- Point the domain to the new server.
- Keep the old server active during DNS propagation.
- Monitor traffic and functionality.
This overlap helps ensure visitors continue to access the website without interruption.
Step 9: Monitor the Website
After migration, monitor:
- Website uptime
- Page speed
- Error logs
- SEO performance
- SSL certificate
- Contact forms
- Orders (for eCommerce)
- User logins
Use monitoring tools to quickly identify any issues.
Step 10: Cancel Old Hosting
Only cancel the old hosting after:
- DNS propagation is complete.
- All traffic reaches the new server.
- No missing files or errors remain.
- Emails function correctly.
Waiting a few days before cancellation is a safe practice.
Best Practices for Website Migration Without Downtime
- Always create multiple backups before migrating.
- Test the website thoroughly on a staging server.
- Reduce DNS TTL before switching servers.
- Keep the old hosting account active until migration is verified.
- Migrate during periods of low website traffic.
- Use HTTPS and ensure SSL certificates are correctly installed.
- Check redirects, broken links, and image paths after migration.
- Monitor website performance and uptime for several days.
- Verify that emails, forms, and payment gateways work correctly.
- Review Google Search Console for crawl errors after migration.
Pros and Cons
Pros
- No interruption for visitors.
- Better user experience.
- Protects SEO rankings.
- Reduces business revenue loss.
- Smooth transition to new hosting.
- Lower risk of data loss.
- Improved website performance after migration.
- Increased reliability and security.
Cons
- Requires careful planning.
- Can be time-consuming.
- May require technical expertise.
- Temporary cost of running two servers.
- Complex websites need extensive testing.
- DNS propagation may still vary by internet provider.
Frequently Asked Questions (FAQs)
1. What is website migration without downtime?
It is the process of moving a website to a new server, host, domain, or platform while keeping the website available to users throughout the transition.
2. Why is avoiding downtime important?
Downtime can lead to lost sales, poor user experience, reduced customer trust, and negative effects on SEO rankings.
3. How long does website migration usually take?
The migration itself can take from a few hours to a full day, depending on the size and complexity of the website. DNS propagation may take up to 48 hours, though it is often much faster.
4. Does website migration affect SEO?
It can, if not handled correctly. Preserving URLs, implementing proper redirects, maintaining metadata, and minimizing downtime help protect SEO performance.
5. Should I back up my website before migration?
Yes. A complete backup of files, databases, emails, and configurations is essential in case you need to restore the website.
6. Can beginners migrate a website without downtime?
Yes. Many hosting providers offer automated migration tools or managed migration services that make the process much easier for beginners.
7. What is DNS propagation?
DNS propagation is the time it takes for updated DNS records to spread across internet servers worldwide. During this period, some users may still reach the old server while others reach the new one.
8. How do I know if the migration was successful?
Check that pages load correctly, forms work, emails are functioning, SSL is active, traffic reaches the new server, and there are no significant errors in logs or analytics.
Final Recommendation
Migrating a website without downtime requires preparation, testing, and careful execution rather than rushing the process. By creating reliable backups, using a staging environment, reducing DNS TTL, thoroughly testing the new server, and keeping the old hosting active until the migration is fully verified, you can ensure a seamless transition for your visitors. This approach not only maintains a positive user experience but also helps protect SEO rankings, business reputation, and revenue.
Ready to Migrate Your Website Without Downtime?
Planning to migrate your website? Follow this zero-downtime migration guide to ensure a smooth transition without disrupting your visitors. If you’re unsure about handling the process yourself, consider using a managed hosting provider or professional migration service to make your move secure, efficient, and stress-free.
Leave a Reply